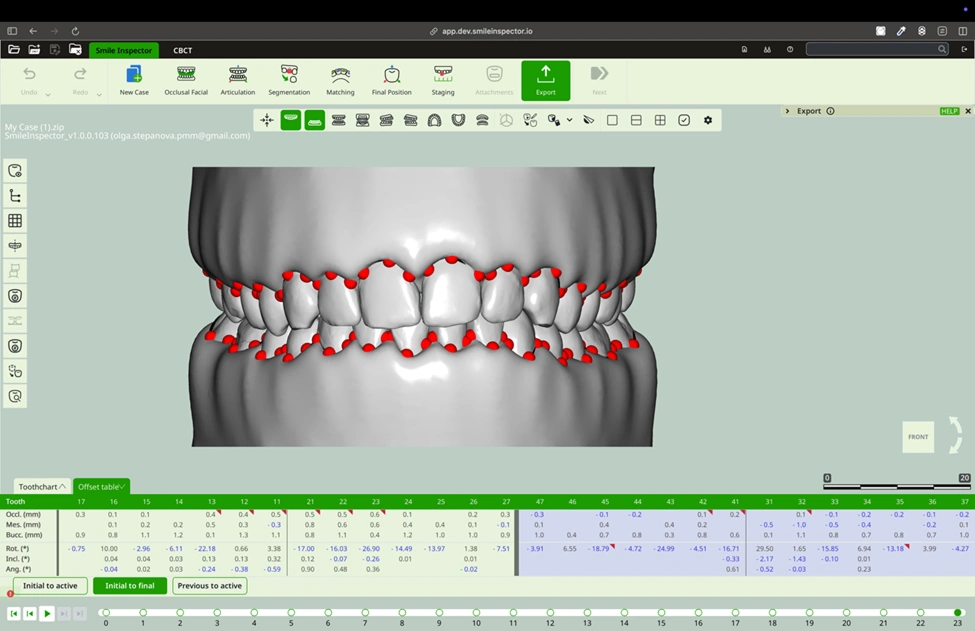
Export
What: Export printable models or aligners.
How:
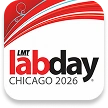
- For proper aligner adjustment, create the fillers in the Fillers section by pressing Generate. The Merge option only becomes available after Generate has been used.
To create the aligners, press the Generate button in the Aligners section.
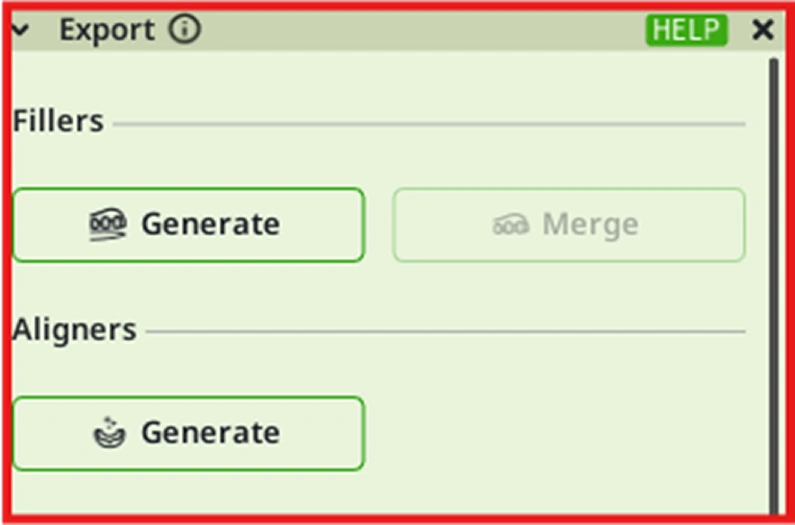
3. Choose trimline type, there are two options:
Basic Trimline, which creates a straight trimline, and Scalloped Trimline, which follows the contour of the gingiva.. Delete the selected trimline using the Reset Trimline button.
4.Use options like Make Hollow
to create a hollow model base and use Heal Meshes to repair scan defects before exporting..

5.To engrave data on the model base
in the Engraving section, activate the arches using the Upper and Lower buttons and activate Engrave check box.
Check the Case Name box and enter the desired name in the editable field to be engraved on the model.
The Stage Number option enables engraving the stage number on the model, and Model Base adds an additional area for engraving on the model.

To apply all selected changes, press Apply All; to delete them, press Reset Al
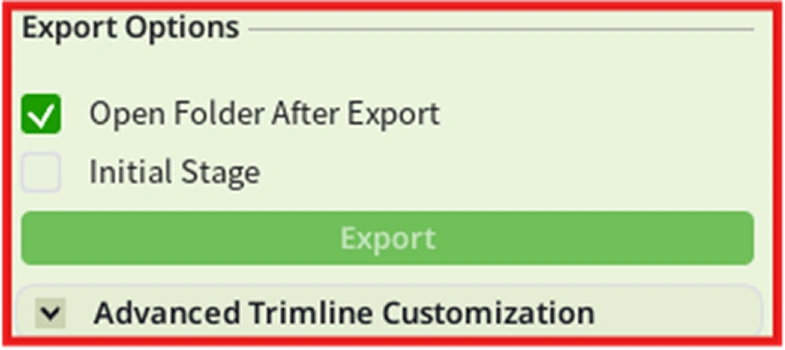
6.Export Options:
Check the Open Folder After Export box to automatically open the folder where the exported files are saved. With the Initial Stage option, only the initial stage of the case will be exported.
7.The Depth Test for Trimline
option ensures that the trimline more accurately follows the contour of the gingiva. This option can be found in Advanced Trimline Customization.
8.Click Export
to perform the export process with the selected and applied preferences.
Next
What: Continue guided workflow.
How: Click Next.