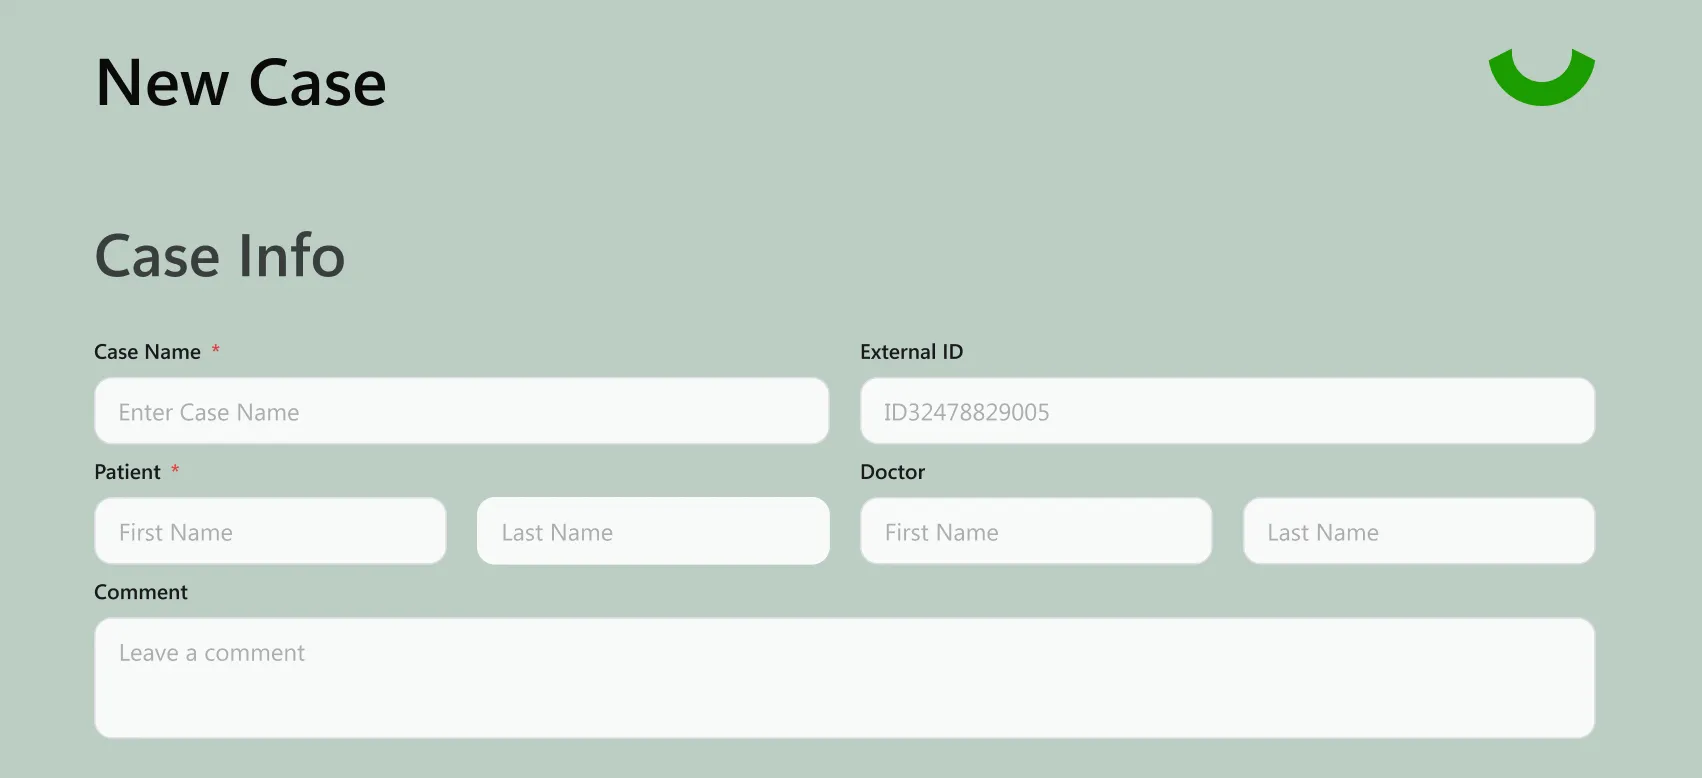
- Case Info
Fill out the basic details for your case:
- Case Name – A name for your internal reference.
- External ID – Automatically generated ID (you may edit if needed).
- Patient – Enter the patient’s first and last name.
- Doctor – Enter the referring doctor’s first and last name.
- Comment – Add any notes you want stored with the case (optional).
- Product Selection
Choose the type of appliance for this case:
- Aligners – Currently available.
- Night guards, Retainers, Braces – Coming soon.
Click the green button for Aligners to continue.

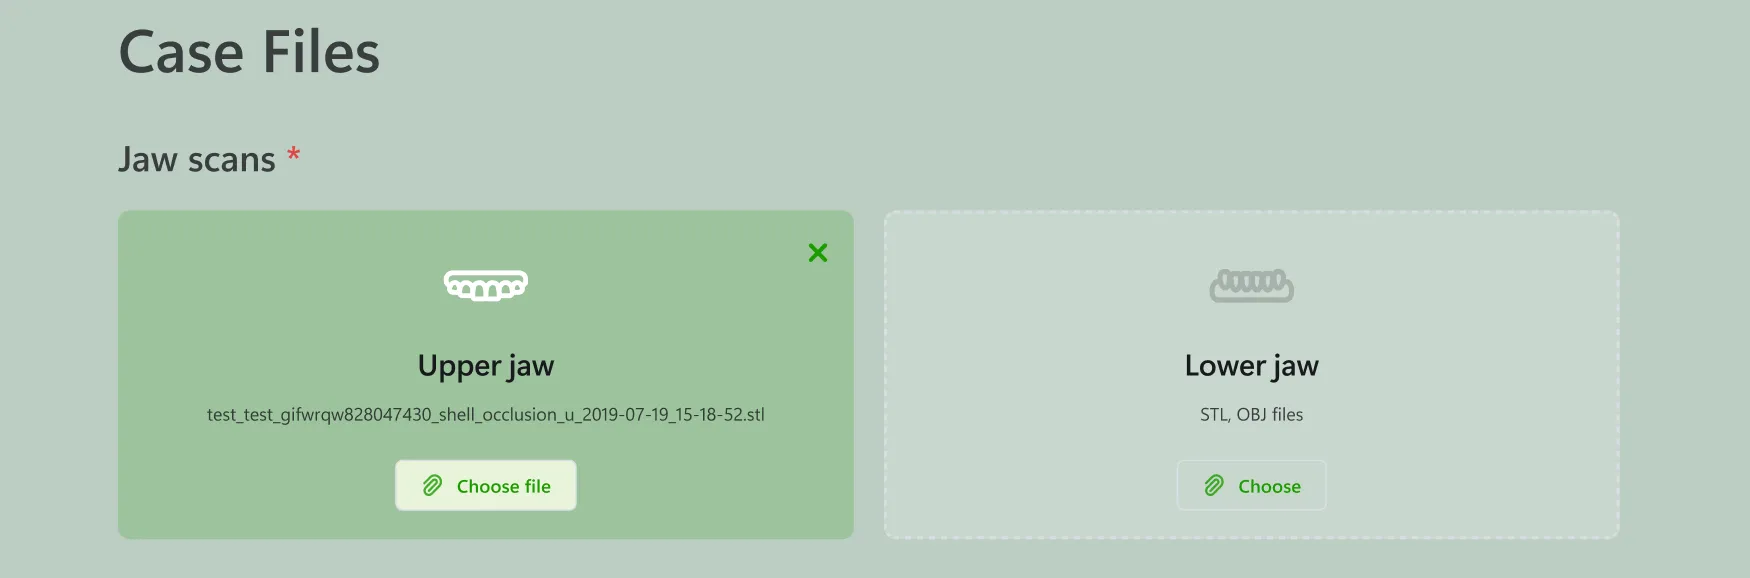
- Case Files
Jaw Scans (required)
Upload the upper and lower jaw scans:
- Upper jaw – Supported formats: .STL, .OBJ, .PLY
- Lower jaw – Supported formats: .STL, .OBJ, .PLY
At least one upper and one lower jaw scan must be uploaded to create the case.
Intraoral Scans (alternative input)
Instead of separate jaw files, you can upload a folder of intraoral scans.
- Supported formats: .STL, .OBJ, .PLY
- The system will automatically process and combine them.
Tip: Keep the checkbox enabled for automatic cleanup to remove artifacts and fill small holes in the scan.

CBCT Scan (optional)
You can add DICOM files if CBCT data is available for the patient.
- Click Choose folder and select the DICOM series.

- Load Attachments
Attach supporting files such as photos or documents.
- Supported formats: .PNG, .JPG, .PDF
- Attachments are listed at the bottom of the form and can be removed if uploaded by mistake.

- Final Step
Once all required fields are complete:
- Click Create to generate the case.
- Use Cancel if you want to discard the form.
After creation, the case will be uploaded automatically to the Case Management System (CMS) and will be accessible through the Open Case tool or directly in the CMS.

Notes
- Mandatory fields: Patient name and at least one pair of jaw scans.
- File size limits: Ensure each file is under the maximum upload limit defined in your plan.
- Next steps: After case creation, you will proceed directly to the occlusion facial setup, segmentation and articulation steps.